How to Use an AED
In times of medical emergencies, particularly when someone experiences sudden cardiac arrest (SCA), quick intervention can make all the difference. Automated External Defibrillators (AEDs) are critical devices designed to deliver a life-saving shock to restore a normal heart rhythm. How to us an AED correctly is paramount to ensure its effectiveness. In this guide, we’ll walk you through the steps of properly using an AED machine:
Step 1: Assess the Situation
Before anything else, ensure the safety of yourself, the victim, and bystanders. Assess the scene for any potential hazards such as water, gas leaks, or ongoing traffic. Ensure the area is safe to proceed with the rescue.
Step 2: Check Responsiveness
Approach the victim and gently shake their shoulders while calling their name loudly. If there’s no response, the person is unresponsive.
Step 3: Call for Help
If there are bystanders present, instruct someone to call emergency services immediately (911 or your local emergency number). If you’re alone, call for help yourself after initiating the rescue process.
Step 4: Open the AED and Turn It On
Retrieve the AED and power it on. Most modern AEDs have clear instructions and voice prompts that guide users through the process. Listen carefully to the device’s instructions.
Step 5: Attach the AED Pads
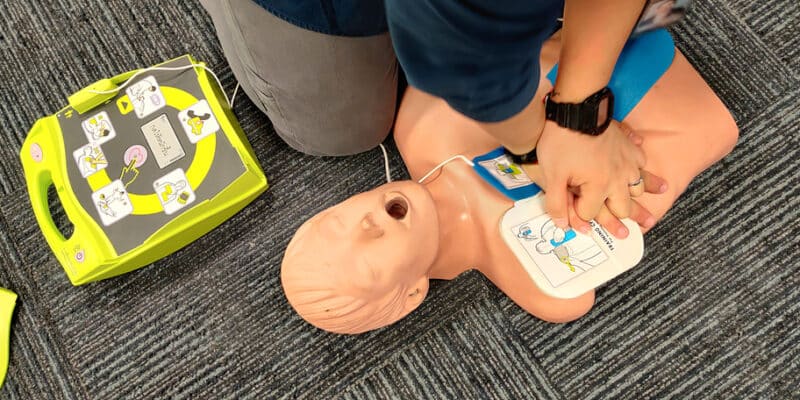
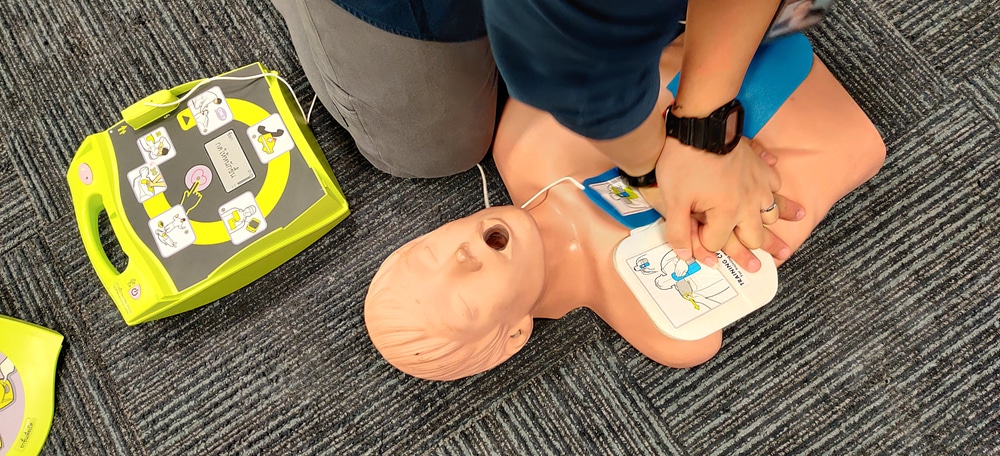
Expose the victim’s bare chest and dry it if it’s wet. Remove any clothing that obstructs the chest. Attach the AED pads firmly to the victim’s chest as shown in the diagram on the pads. One pad should be placed on the upper right side of the chest, just below the collarbone, and the other on the left side, just below the armpit.
Understanding the Basics:
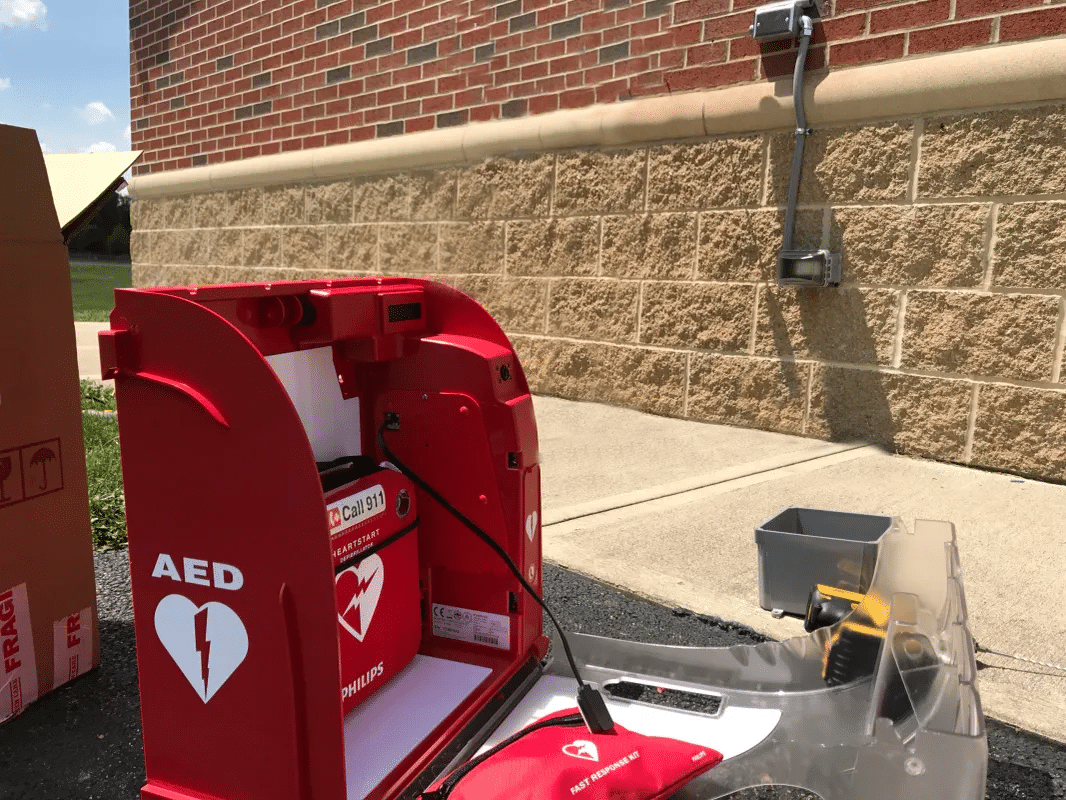
Before delving into the operational steps, it’s essential to understand the basic components of an AED:
- Pads: The adhesive pads that attach to the victim’s chest, allowing the AED to analyze heart rhythm and deliver a shock if necessary.
- Control Panel: Where you’ll find the power button, shock button, and possibly additional buttons for specific functions depending on the model.
- Voice Prompts: Most AEDs provide clear, audible instructions to guide users through the rescue process.
Step 8: Perform CPR
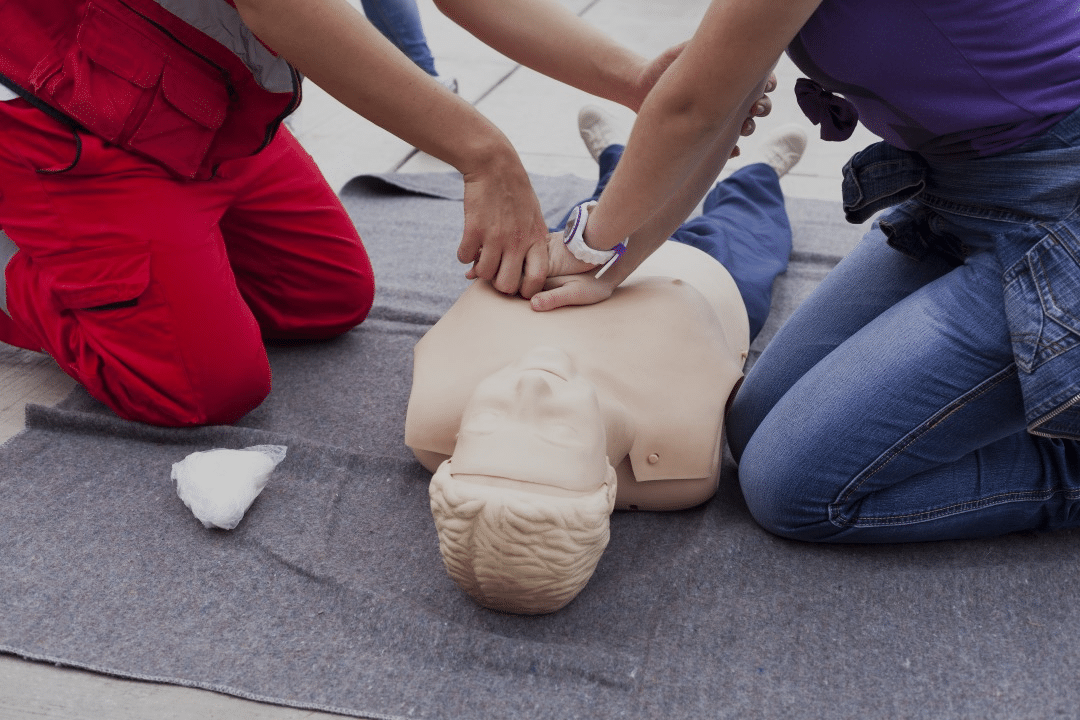
If the AED advises no shock or if a shock has been delivered, immediately begin CPR (Cardiopulmonary Resuscitation) starting with chest compressions. Follow the recommended ratio of compressions to breaths.
Step 9: Continue Until Help Arrives
Continue to follow the prompts of the AED and perform CPR until emergency medical services arrive or until the victim shows signs of responsiveness or normal breathing.


Step 10: Hand Over to Medical Professionals
When emergency medical services arrive, inform them of the steps you’ve taken and hand over the care of the victim to the trained professionals.
Conclusion
Proper utilization of an AED can significantly increase the chances of survival for someone experiencing sudden cardiac arrest. Remember, even if you’re not trained in CPR, most AEDs are designed for use by laypersons and provide clear, simple instructions. By following these steps and acting swiftly, you can make a life-saving difference in an emergency situation.
CPR / AED / FIRST AID TRAINING
What is covered in the Firefighter Safe CPR / AED / First Aid Training?
CPR, AED, and Basic First Aid combination training, teaches students comprehensive knowledge and skills that build the confidence to respond to emergencies. This first aid, AED, and CPR certification course option is an excellent choice for both the community and workplace setting, and conforms to the 2015 AHA Guidelines Update for CPR and ECC, and the 2015 AHA and ARC Guidelines Update for First Aid.
*** Individual CPR / AED and First Aid training is available once per month at our community class ***
